I love pallets… they can be used for so many things.. I collect them from all over the place. Many businesses get deliveries on them and leave them in the parking area behind their premises, or against the walls somewhere in the vicinity just hoping someone will want them.. If they don’t give them away they have to get rid of them somehow. They can’t take them to the local tip because they are a business surplus. Just knock on and ask..
New builds, house renovations, new estates, building sites, etc normally have loads stacked up for giving away. Never ever pay for a pallet!! Some (normally painted) have a deposit so those will not be available.
Skips outside peoples houses that are getting renovations done are a good source as they need them removed to keep the place tidy and free of eye-sore piles of junk.
The average size is about 90cm x 110cm (about 3’ x 3’ 6”) so they can go in the back of a people carrier type car. Even a car boot can be used if you tie the boot down.
There are some that are 6’ and 8’ long x 4’ which are from British Gypsum and are ideal for long planks. These have to go on top of the car roof carrier rack.
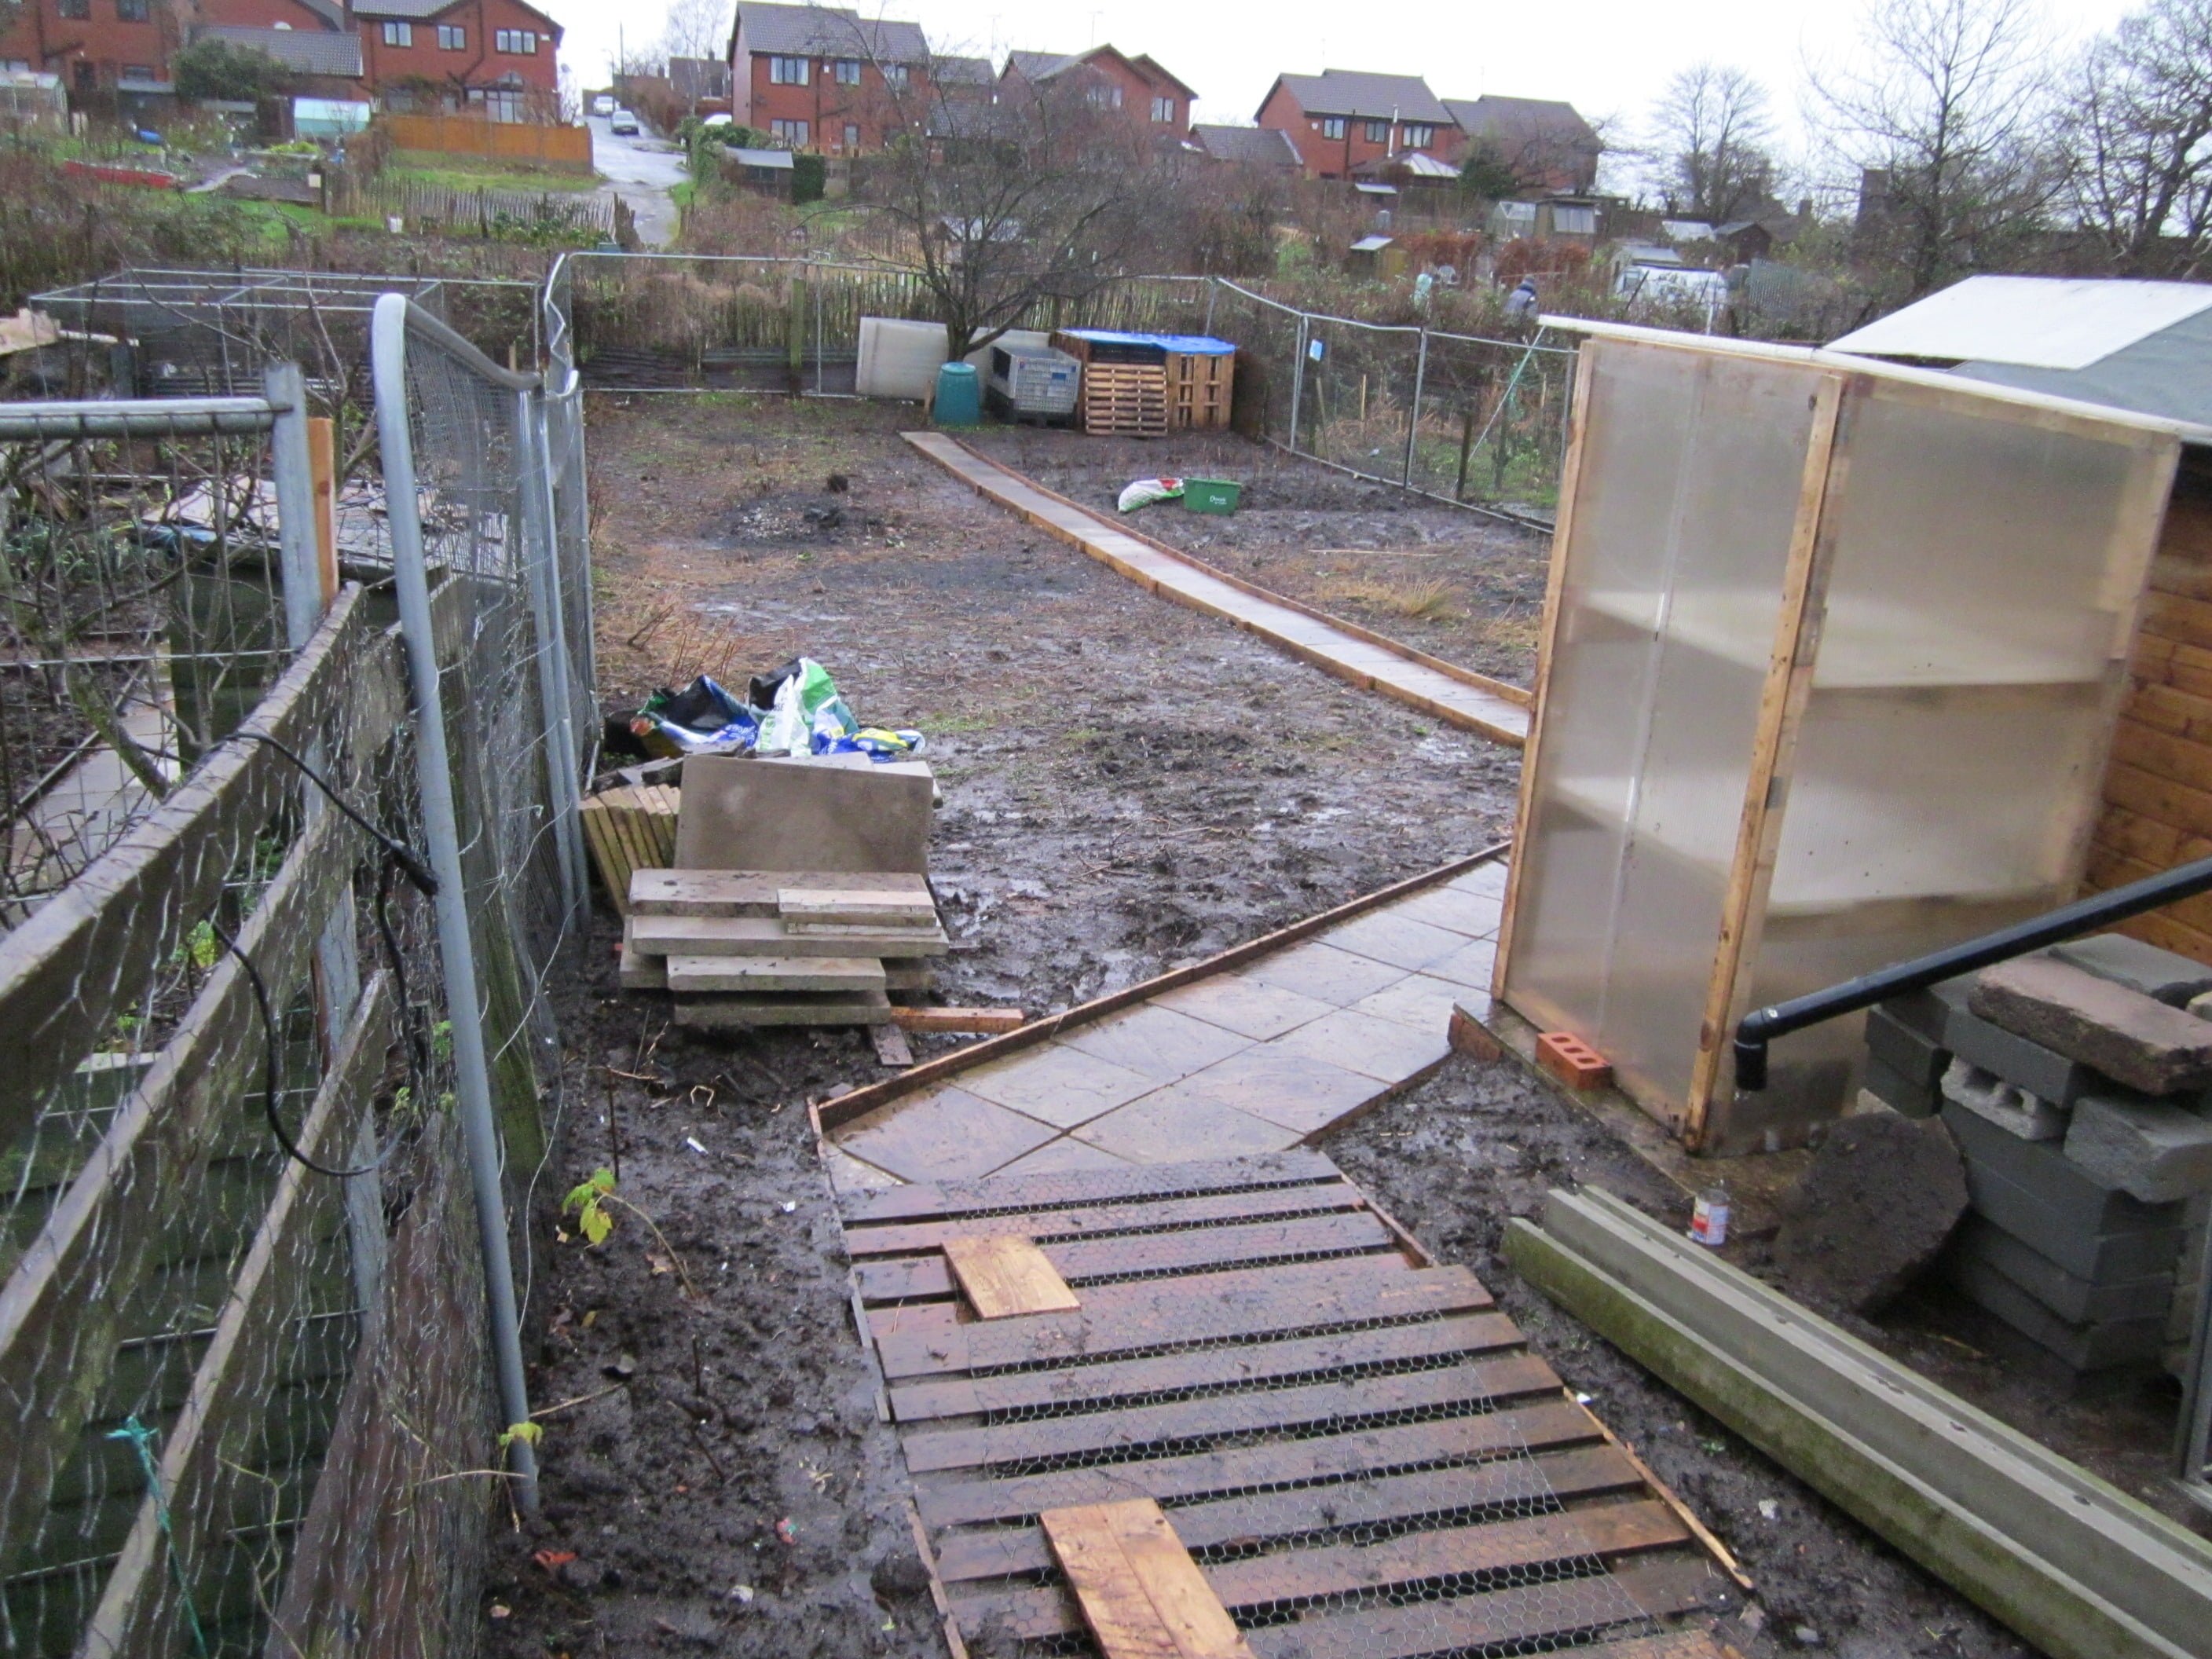
I was allocated probably the worst left plot on our site and had absolutely loads of work to do before I could use it. see my blog site here ..
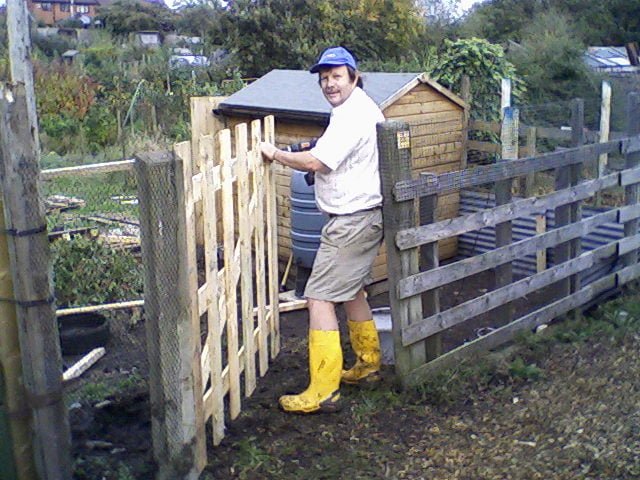
They have many, many uses: Like fencing, gates, kindling, stairs, shed bases, compost heaps, raised beds, pathways, sheds, tables, shelving, bean A frames, cold frame, cupboards, etc. etc. the list is endless. You can see in the above photo just a few places where we used pallets..
All the wood used on the plot has been from pallets. I made a rather large compost heap using two pallets long so it will hold loads of compost..
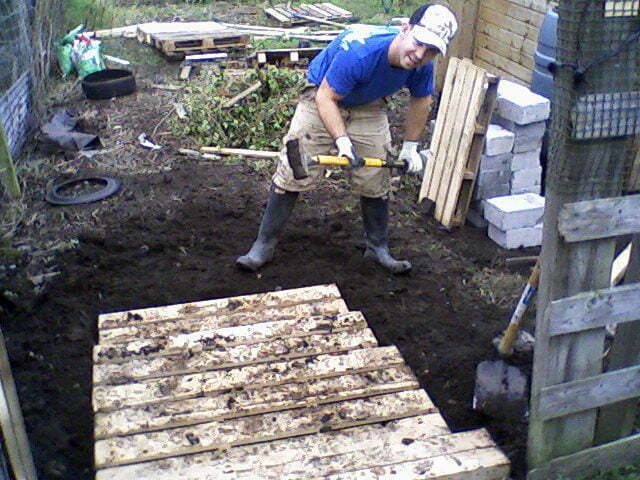
As well as the above I also used them to make a set of stairs into my allotment. I got the plot in the November and had a lot of rain and snow. We cut a few pallets in half to make it easier to place them. Starting from the gate we dug down a few inches to get it level and laid the first one, then dug down to level off for the second etc. etc. We did four half pallets and then two full ones to get to the general level of the plot. We hammered planks into the ground through the gaps in the pallet steps to stop them moving and also nailed them on.
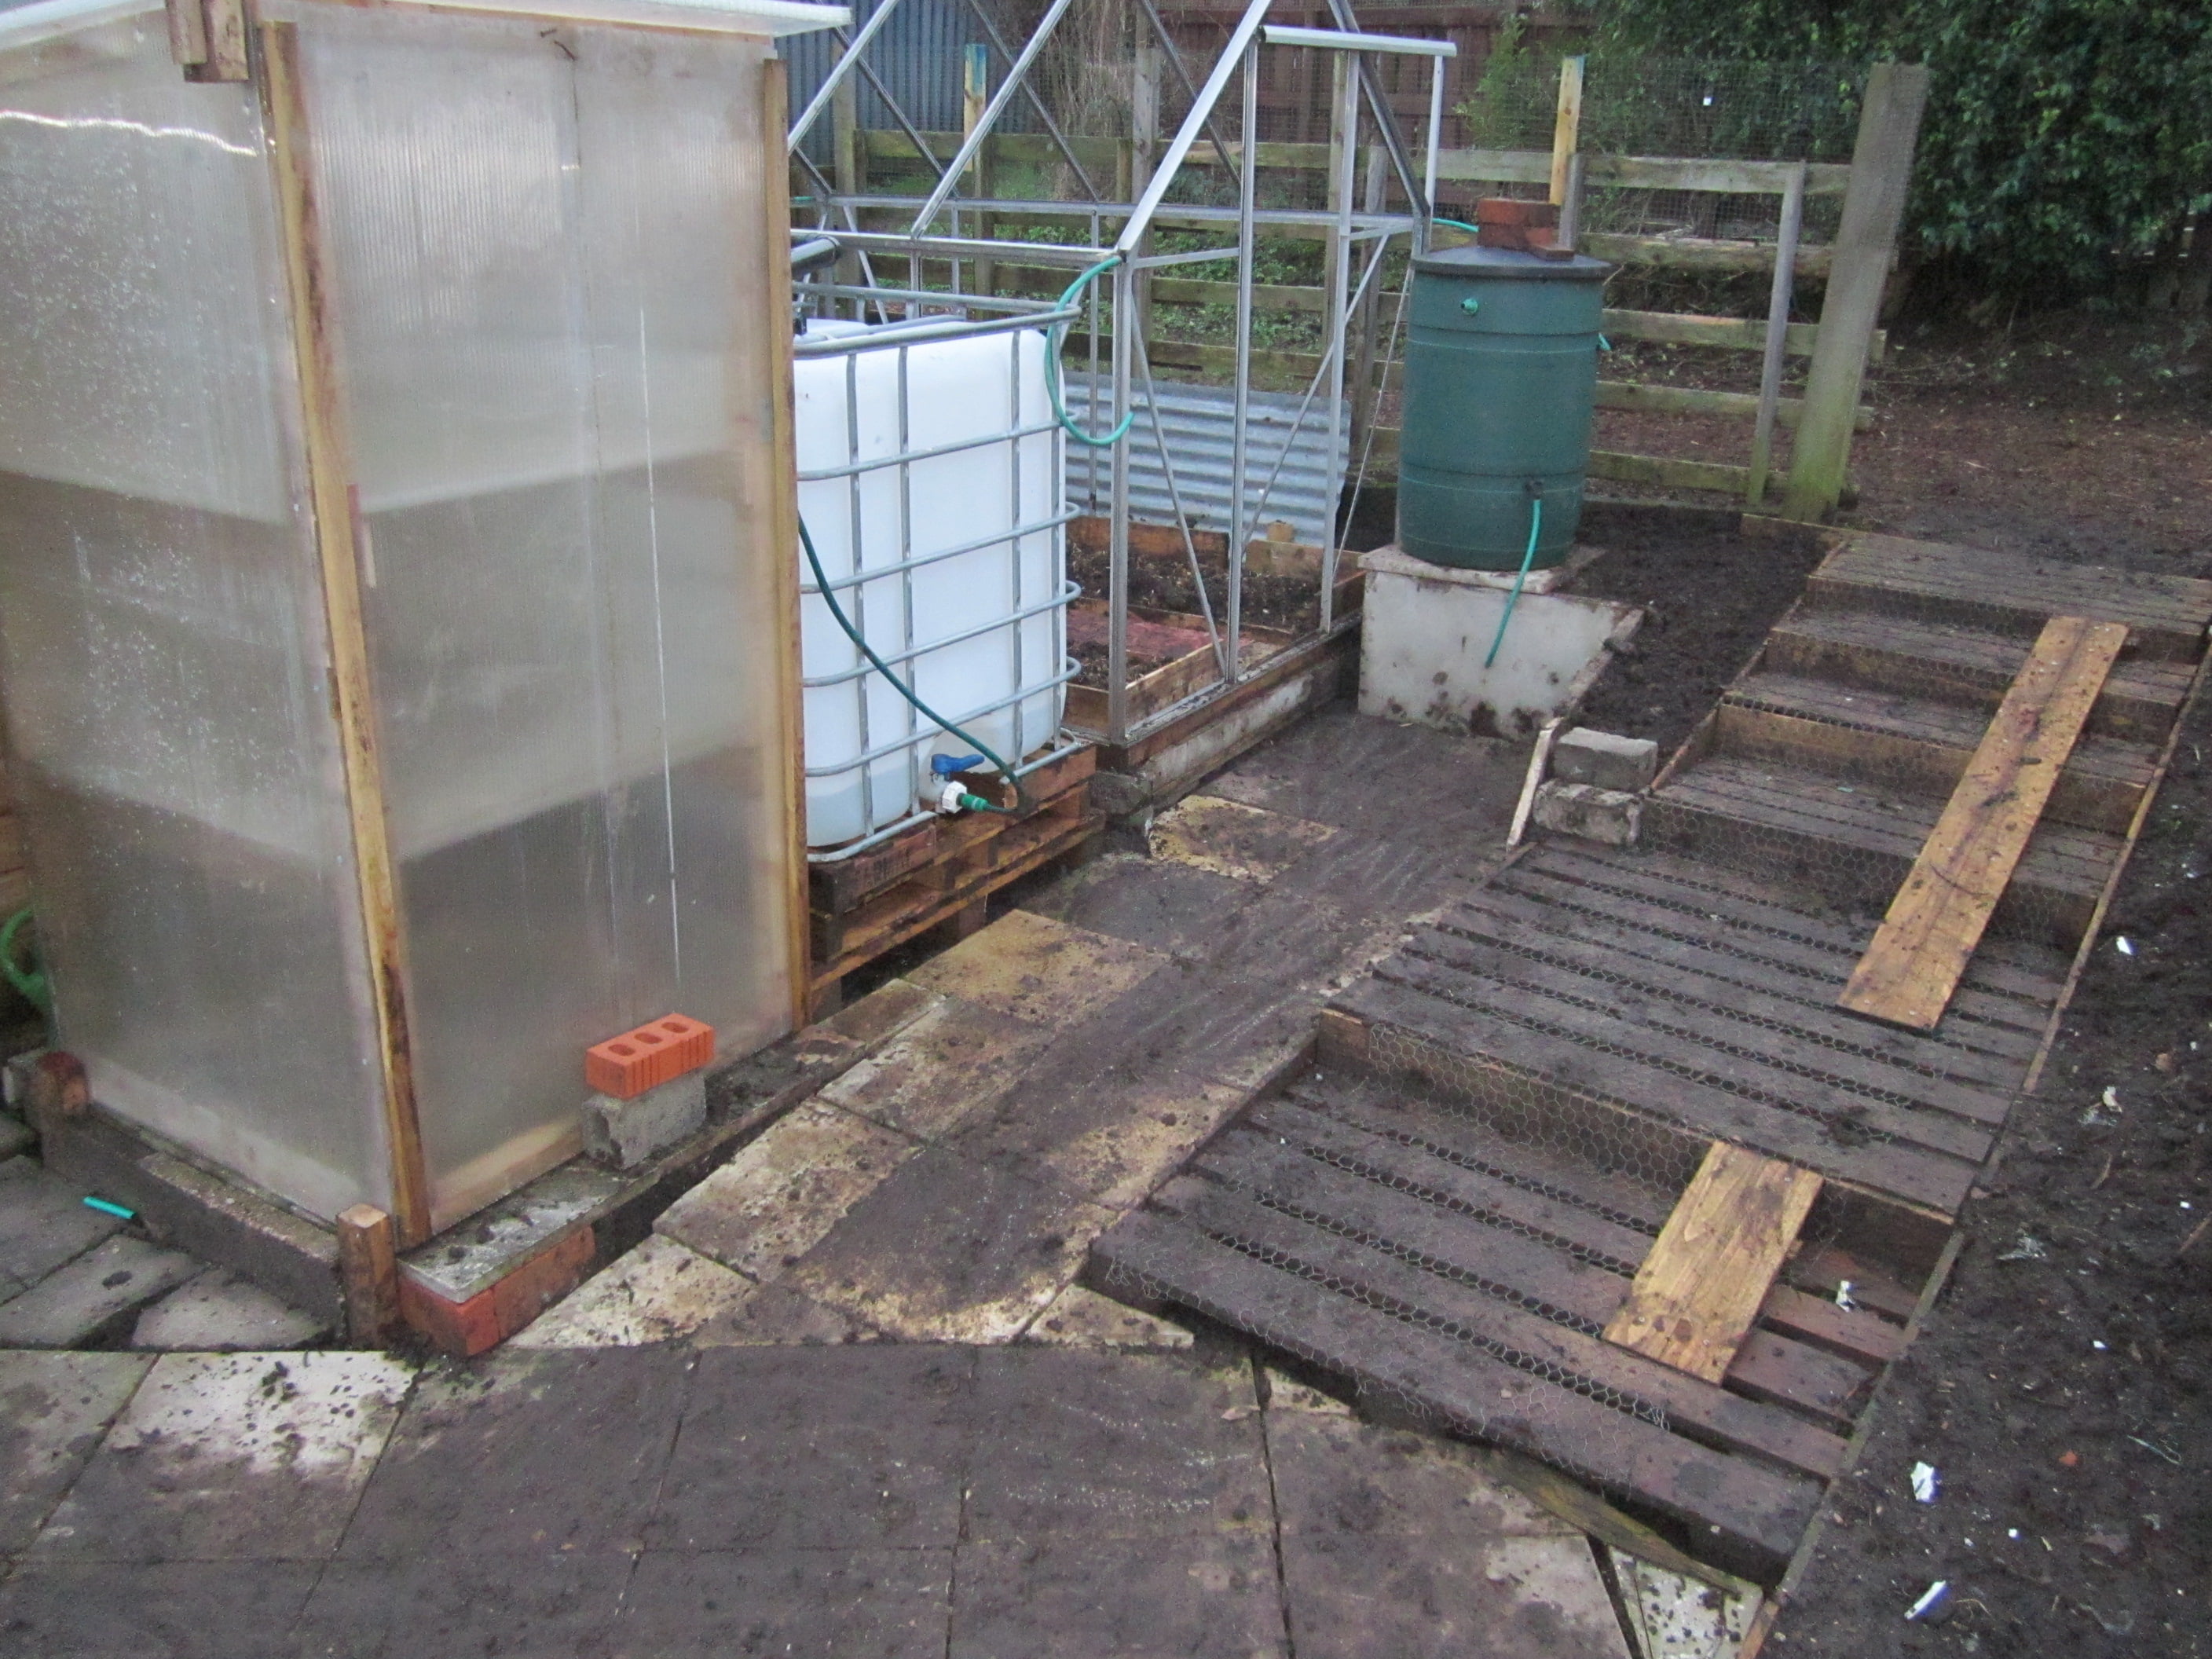

Because they get really slippery when wet we nailed chicken wire on them. This has really worked well and stopped us slipping in the wet. We also screwed on two planks from the top to the bottom to use as a road for when we use the wheelbarrow which has also worked really well.
A great use is for fencing. Using partly stripped 6’ and 8’ pallets one can simply attach them to planks hammered into the ground and then use the stripped off planks to fill in the gaps because these pallets have gaps of about 9”. Or strip them all down and make a good strong picket fence..
For gates I use normal pallets all stripped down and the planks screwed together. For the hinges I use strips of rubber cut out of a car tyre… Another freebie you can use!!
My pathways are made like raised beds with planks and the stakes all made from pallets.. I then laid flagstones in-between the planks to finish it off.
Another big use for them was to make fires to burn all the “bad” weeds and marestail that I removed when I double dug the plot when preparing for the first crop. All the pieces of left over wood and rubbish was burned in piles all over the plot and then the ash (potash) was spread all over. Because the pallets are full of nails I got a large magnet from a car speaker and collected all the nails from the ash piles.
A tip for stripping pallets is get a tool made like in the picture below or you can also use a strong garden fork with a block underneath to lever the planks off.. The nails recovered from stripping the pallets are hammered straight and re-used for attaching the planks to fences etc.