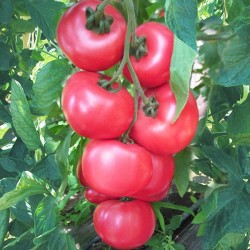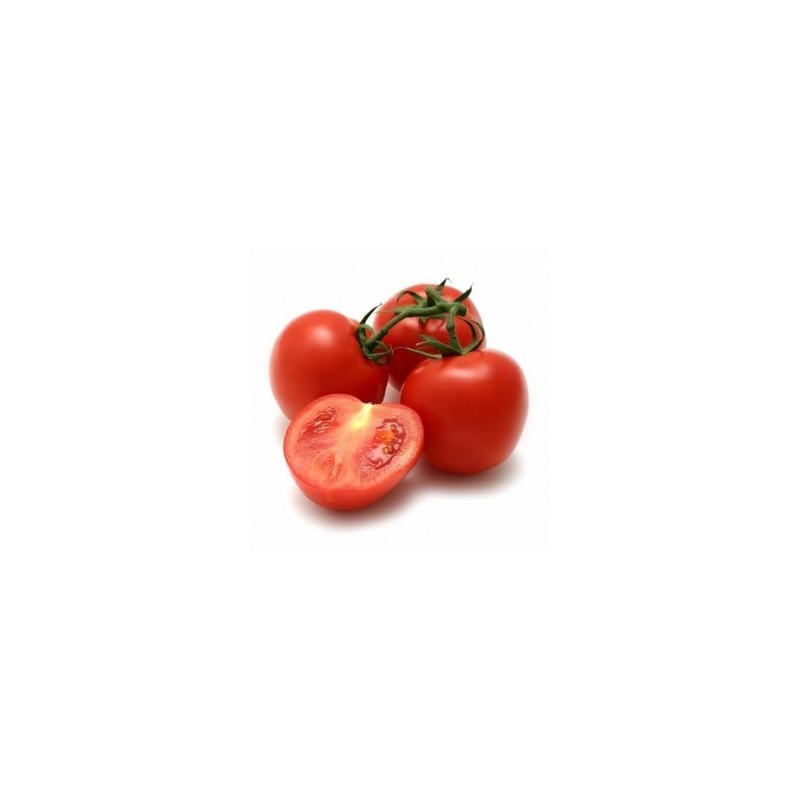

A well know, early maturing variety. The excellent quality fruit makes Shirley the exhibitor's favourite. Resistant to TMV, Fusarium 1 and 2, Cladosporium.
Brilliant for outside and greenhouse cultivation. The fruit weighs 70-90 grams.
Check out How to Grow Tomatoes from Seeds below
Sowing
It is best to start with smaller cell trays if you are using them as the transplanting process is a big part of producing healthy tomato starts. Seeds should be placed on pre moistened soil and covered with approximately 1/8” of potting mix. Water in well. Since tomatoes are a warm growing plant, tomato seeds will love some bottom heat which both speed up germination and prevent certain cold related rots.
Care of Seedlings
Let seedlings dry slightly between watering but avoid letting them wilt. Avoid chlorinated tap water, water can be filtered or left out overnight to allow the chlorine to dissipate. A weekly weakly fertilizer regime is best for small plants. Something like a 5-5-5 NPK will work great (you can just dilute stronger fertilizer). If growing under a cover of any sort, be sure to slowly acclimate them to drier air as they grow so they do not wilt when transplanted. This can be done by simple wedging open the cover a small amount at a time or taking the lid off of the tray for short periods at first and then longer and longer.
Transplanting
Once your Tomato plants reach the 3 or 4 leaf stage (the seed leaves plus some true leaves), it is time to transplant them. Take your basic potting mix and add some of your favourite compost and other amendments like blood, kelp or bone meal as directed on the package. These are quite inexpensive and will really help you have the healthies possible tomato starts. It is also a good idea to add something for a bit of extra drainage, like sand or vermiculite. This is best in a 1:3 ratio (sand:soil) for sand and a 1:4 (vermiculite:soil) ratio for vermiculite.
Select a 3 or 4 inch pot and fill it all the way with your pre-moistened potting mix. Separate out your seedlings, always pulling them apart from the roots so you do not break the stems. Bury them “up to the ears”, right up to their lowest set of leaves each in their own pot. If you have lots and want to ensure you get at least one in each pot, you can put two and then thin to the strongest in a week or so. Any part of a tomato stem that is buried will grow roots and, in fact, transplanting like this is important as just the seed root system of a tomato is quite weak.
Continuing Care
Your tomatoes should be happy in their 3-4” pot until it is time to plant them out. Let them dry slightly between watering. It is a good idea to increase the strength of your fertilizer as the plants grow and you get closer to planting them out as they will use up most of the nutrients in their pots. The lower leaves may yellow, this is perfectly fine and they can be easily removed with a pair of clean scissors or shears. I t can be really helpful for your tomatoes to have a desk fan blowing on them to strengthen them and prevent mold from crowding.
Hardening Off
Once the weather and soil have warmed, it is time to prep your tomato starts to be planted outside. This process is known as hardening off and is meant to slowly adjust your plants to the sun, wind, humidity and temperature outside. The basics of this is to put your plants in a sheltered location outside for a couple hours at first and slowly increase the time and exposure they receive. First, be sure your daytime temperatures are above 10 degrees Celsius. Start with partial shade and shelter from all wind for tomatoes and then slowly expose them to full sun and air movement. This whole process should take about 5-8 days depending on how drastic of a change you are making.
Planting Out
Be sure that the site you are planting is well prepped. Dig the soil well to loosen and aerate it, add compost and other amendments like in the preparation of the transplant soil. It can also be helpful to water the hole before planting if the ground is dry. Again, bury the plants “up to their ears”, removing some older leaves if you have to. This will help the plants grow a large, healthy, deep root system and can also help rejuvenate pot-bound or lanky starts. For example, a two foot tall start should have at least half of its stem buried once planted. Be sure to leave at 4-6 mature leaves above ground at the very least. Stake, water well and mulch.